Photo by John Ashover
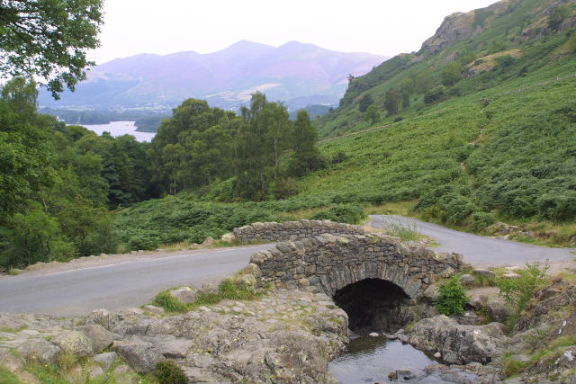
Ashness Bridge